Showing posts with label organization. Show all posts

Thursday, July 3, 2014

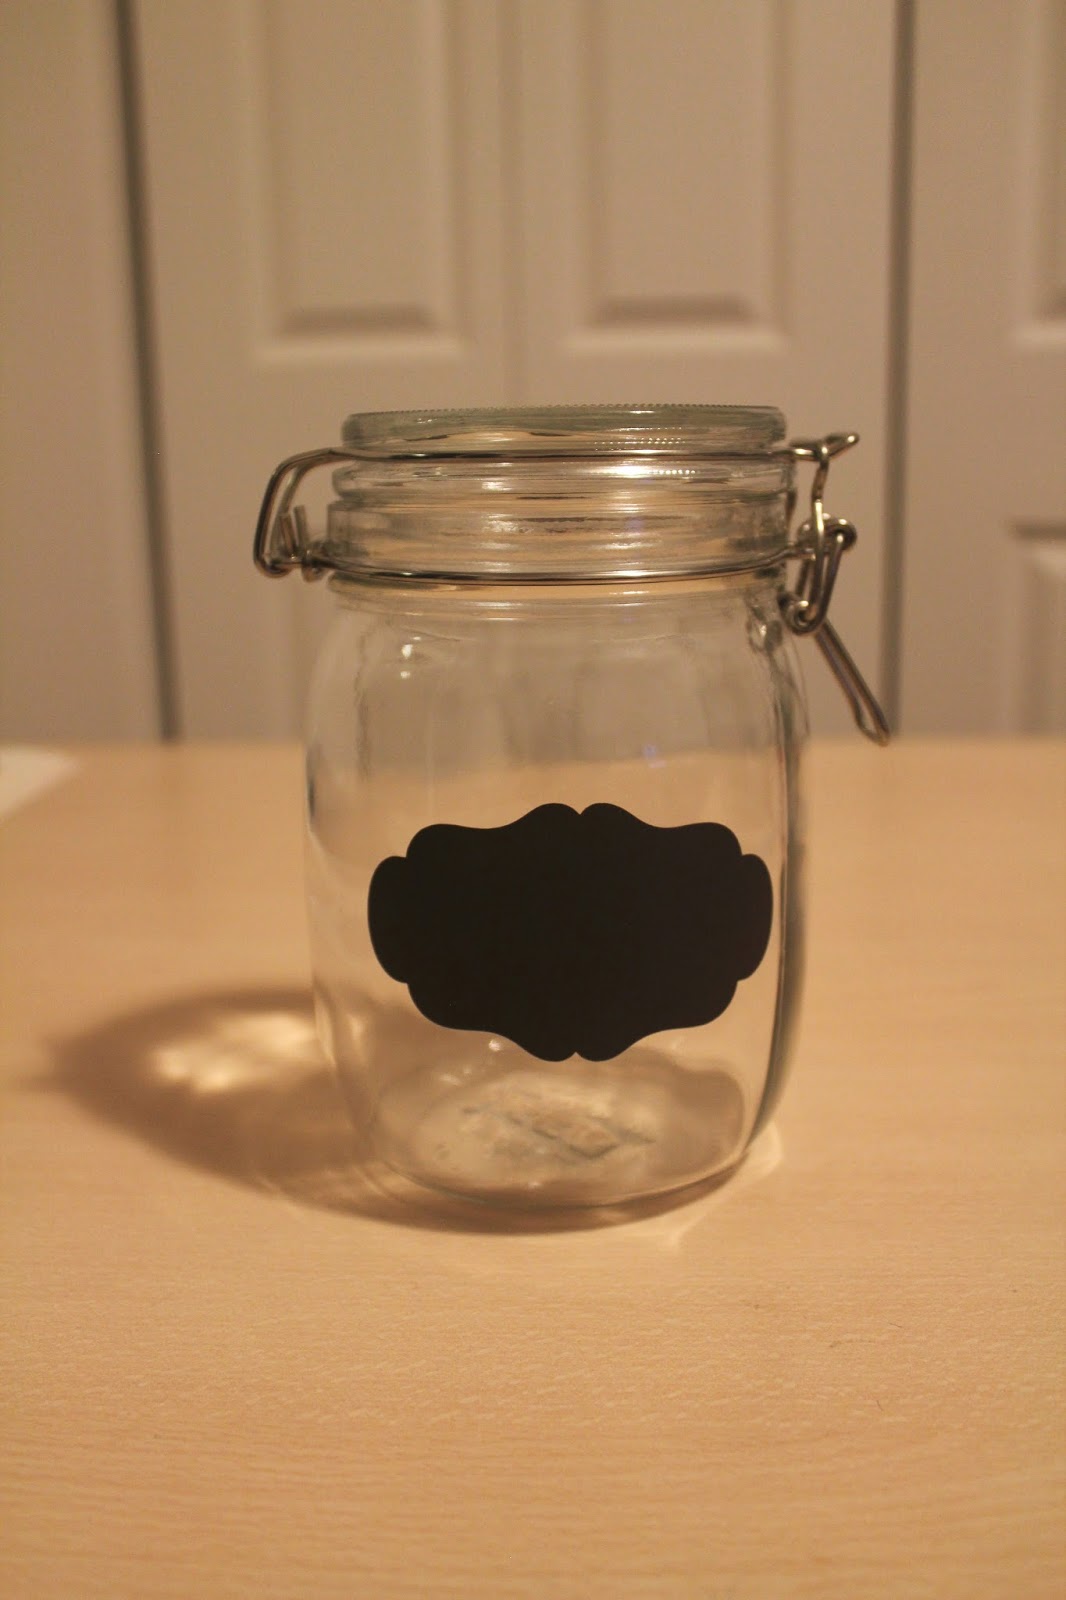
Make Your Own Vinyl Chalkboard Labels for Pantry Jars

I love the chalkboard trend! I used chalkboards as part of my wedding decor two years ago and now I use it in a few different places in my home. One of the ways I use chalkboards is labels on my pantry jars. 

DIY Chalkboard Labels homeiswheretheheartis8410.blogspot.com

I made these labels myself using my Silhouette and chalkboard vinyl. It was my first vinyl project and I was pretty nervous to do it. That's the reason I procrastinated on doing it for so long. But finally, one night I buckled down, watched some video tutorials and decided to go for it.  

DIY Chalkboard Labels homeiswheretheheartis8410.blogspot.com

It was so easy! I kicked myself for not doing it earlier. Ah well, at least it's done now. For anyone else who's not yet ventured to make their first vinyl project yet, I decided to give a step-by-step picture tutorial to help you have the confidence to see how easy it really is and do it yourself.


DIY Chalkboard Labels homeiswheretheheartis8410.blogspot.com

My jars are the Korken glass jars from Ikea. I love the look of the big metal clasps and that they have seals. I bought some in all three sizes. They are such a good deal! The small jars are $2.49, medium jars are $3.49 and the larges ones are $4.49! For my own pantry, I purchased 4 small, 4 medium, and 7 large. 

DIY Chalkboard Labels homeiswheretheheartis8410.blogspot.com

My vinyl and transfer paper is from Expressions Vinyl. When I got my Silhouette for Christmas, my mom also gave me a bunch of different colored vinyl. I need to make something else now that I've conquered my how do I do this? vinyl fear.


DIY Chalkboard Labels homeiswheretheheartis8410.blogspot.com

Depending on the width of your vinyl, you may need to adjust the rollers on your Silhouette (the white plastic cylinders around the silver bar in the front) The sticker on the inside of the lid gives directions for how to move them. Also, you want to make sure you select "Load Media" instead of "Load Cutting Mat' which is the default. (and then when you are done with this project and make another one, make sure it's switched back to "Load Cutting Mat" so you don't cut into the edge of your mat and then only get half of your design on the paper--ya learned that the hard way, sigh)


DIY Chalkboard Labels homeiswheretheheartis8410.blogspot.com

I searched in the Silhouette Online Store for a label design I liked. I chose this Artisan Label Set of three different labels. Once I downloaded the design, I un-grouped so I could work with just the one I wanted. I tweaked the proportions to fit my jars better. Before I cut anything on vinyl, I used some scrap cardstock and cut the three sizes to see how they would fit on my jars. I did a little bit of adjusting, cut again with cardstock to double check and then saved my new design of the three labels sized perfectly for my jars.


DIY Chalkboard Labels homeiswheretheheartis8410.blogspot.com

If you are interested in re-sizing that particular label to fit on the Korken Jars, here are the dimensions I used:
Small-- 2.25"W x 1.286"H
Medium--3.5"W x 2"H
Large--4.125"W x 2.357"H

Even once I had used the cardstock first, I still wasn't ready to cut all of the vinyl labels at once. I cut just one of each size first. I actually went through the whole process with the small label before taking any pictures to make sure I could focus and get it right. I put them as close to the top edge and each other as I could to save vinyl. Here they are all cut out still on the vinyl backing paper.


DIY Chalkboard Labels homeiswheretheheartis8410.blogspot.com


I peeled the unused vinyl back just enough and stuck my ruler under it so I could have some room to work without it sticking and getting in the way. 


DIY Chalkboard Labels homeiswheretheheartis8410.blogspot.com


Cut some transfer paper that will completely cover the vinyl shape. Again, I didn't want to waste and go too big, but you need to cover past all the edges.


DIY Chalkboard Labels homeiswheretheheartis8410.blogspot.com


Then you peel the transfer paper away from its backing.

DIY Chalkboard Labels homeiswheretheheartis8410.blogspot.com


Stick it right on top of your vinyl shape. Since I put my two shapes so close together, I started inbetween to gain as much edge as I could without sticking to the second shape. Then I just slid my hand across to smooth it down on the entire label.

DIY Chalkboard Labels homeiswheretheheartis8410.blogspot.com

All covered! You can see through the transfer paper and make sure you've covered all edges.


DIY Chalkboard Labels homeiswheretheheartis8410.blogspot.com

Then use your scraper and go from the middle outwards in all directions to make sure the transfer paper gets a good adhesion to the vinyl at all edges.


DIY Chalkboard Labels homeiswheretheheartis8410.blogspot.com

Carefully peel back one corner of the transfer paper. Go slowly to make sure the vinyl is coming with it. If your vinyl is not coming up, push the transfer paper back down and do some more pressing, rubbing, and scraping.


DIY Chalkboard Labels homeiswheretheheartis8410.blogspot.com

Now your entire piece is on the transfer paper and ready to go.

DIY Chalkboard Labels homeiswheretheheartis8410.blogspot.com

Make sure your jar is clean and fully dried. I had washed and dried all mine way ahead of time. You will need your scraper again too.


DIY Chalkboard Labels homeiswheretheheartis8410.blogspot.com

If you want, you can measure and get all precise about where to put it on the jar. Honestly, I just eye-balled it. 


DIY Chalkboard Labels homeiswheretheheartis8410.blogspot.com

Because of the roundness of the jars, I thought it was easiest to stick the label down in the middle and then press out in all directions to stick the rest.

DIY Chalkboard Labels homeiswheretheheartis8410.blogspot.com

After pressing and rubbing it down with my fingers, I used the scraper to go over it again. This gets out any air bubbles and really gets the edges to stick.


DIY Chalkboard Labels homeiswheretheheartis8410.blogspot.com

Having clear glass jars was helpful, because I looked from the other side sometimes to check for air bubbles or making sure it was straight. I also used this to help make sure all the jars had the label in (mostly) the same place. Once the first jar was done, I would put another jar of the same size almost touching it while holding my label on the transfer paper in between the two jars. Then I looked through the back of the new jar to see if where I was holding the label lined up with the already-finished jar. I adjusted as needed and then touched the middle of the label to the new jar just enough so it stuck in the right place but then I spun it around and worked with my fingers to really stick it down well. 


DIY Chalkboard Labels homeiswheretheheartis8410.blogspot.com

After you've rubbed and scraped, then it's time to take the transfer paper off. This is pretty much the opposite of when you adhere the label to the transfer paper in the first place in that when you pull back the corner you don't want the vinyl to come with it this time. Choose one corner of the paper and gently peel back making sure the vinyl is sticking to the jar all along the way.


DIY Chalkboard Labels homeiswheretheheartis8410.blogspot.com

And there you have it! Wasn't that easy? And it looks so wonderful!


DIY Chalkboard Labels homeiswheretheheartis8410.blogspot.com

Remember to prime the chalkboard first by rubbing the side of a piece of chalk all over the chalkboard and then erasing. This step is important unless you want the first thing you ever draw/write to always remain there.

DIY Chalkboard Labels homeiswheretheheartis8410.blogspot.com

  Yes, I know I don't have very cute handwriting, but at least I now have chalkboard labels on my pantry jars!


DIY Chalkboard Labels homeiswheretheheartis8410.blogspot.com

My first three completed! The small jar was the hardest to do and some of my labels have air bubbles and creases that will not go away but I'm okay with it. It's only noticeable to me because I made them, well and I guess you now since I told you. You do have to take some extra time really finding the right spot with the little jars though because they have a very small area of flatness from top to bottom.

DIY Chalkboard Labels homeiswheretheheartis8410.blogspot.com

Three down, twelve jars to go. Once I got my system down, it went pretty quickly.


DIY Chalkboard Labels homeiswheretheheartis8410.blogspot.com

I played a little bit to arrange the last twelve labels in a way that saved the most vinyl.

DIY Chalkboard Labels homeiswheretheheartis8410.blogspot.com

After just a couple hours, all my jars were labeled and filled.


DIY Chalkboard Labels homeiswheretheheartis8410.blogspot.com

They're all put away in my baking cupboard and the prettiness just makes me so happy. 

DIY Chalkboard Labels homeiswheretheheartis8410.blogspot.com

So what do you think? Do you now feel confident and informed enough to make your own vinyl chalkboard labels? Or any vinyl project for that matter.


DIY Chalkboard Labels homeiswheretheheartis8410.blogspot.com

What vinyl project should I do next? I know the sky is the limit but I don't have a specific project in mind so I need some inspiration.


DIY Chalkboard Labels homeiswheretheheartis8410.blogspot.com

What was your first vinyl projects? Any other helpful tips for vinyl projects?

Wednesday, June 25, 2014

Summer is here! Free Summer Productivity Printable

Ahhhhh :) We're 4 days in and it's starting to feel like summer! Sure the weather has been
all. over. the. place.
It cannot decide what it wants to do out there. But I'm getting my mantel decorations and mindset finally into summer mode! And then...my mom has to go and text me this morning saying "6 months til Christmas!" Gee thanks, mom. She's a kill-joy fall/winter lover. (Love you!) :)

Well I never got around to posting June goals. Here's a quick update on how I did with May goals:

Goals for May:
1. Go to the gym or run 5 times
2. Make 1 new recipe
3. Hang living and dining room curtains
4. Blog 1 time other than this post
5. Choose a paint color for master bedroom
6. Paint master bedroom
 7. Project Life date with my mom
8. Finish "Love Does"

Ya, I'm not doing so great. But hey, half is better than none!

I had a great finish to the school year--can't believe I've successfully taught for 2 years!

At the end of the year, we were reading "Because of Winn-Dixie." So to wrap-up the book and welcome summer, we had our very own party copying the party they have in the book! We had egg salad sandwiches cut into triangles with frilly toothpicks, a jar of pickles, Littmus Lozenges, and Dump Punch!
Becuase of Winn Dixie party homeiswheretheheartis8410.blogspot.com

We also copied the decorations from the book. We made our own luminaries and used battery tea lights.
Becuase of Winn Dixie party homeiswheretheheartis8410.blogspot.com

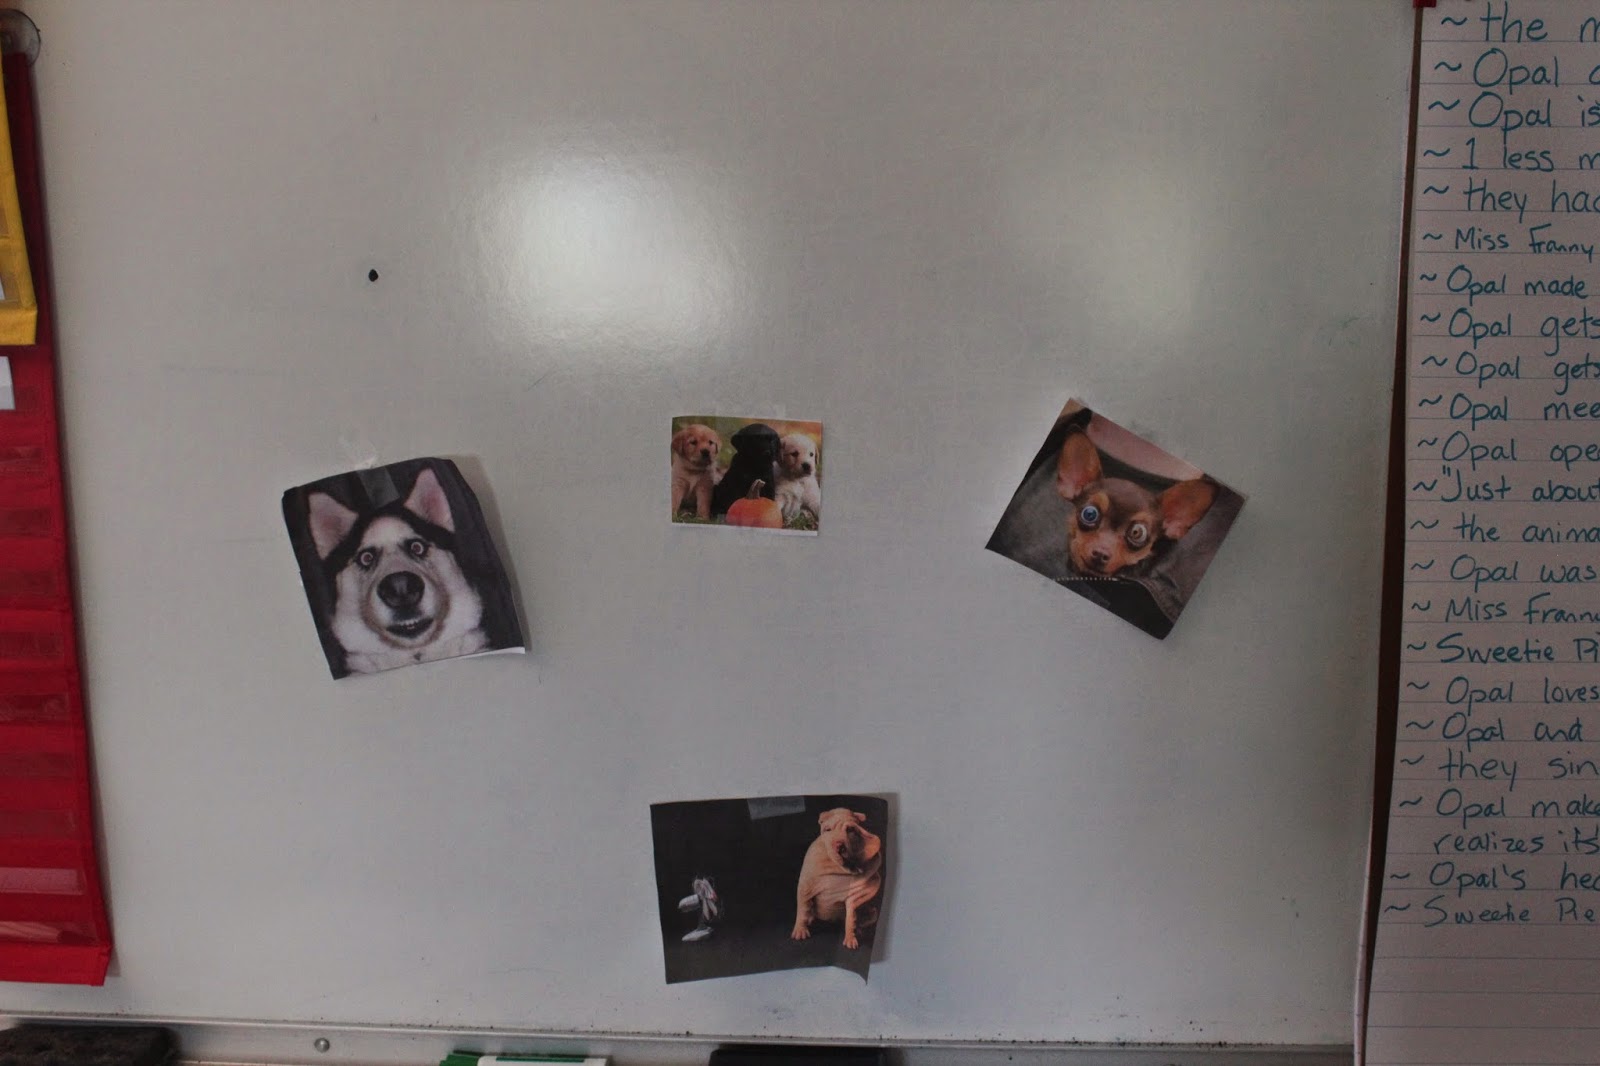
 Some students brought dog pictures for us to stick around the room.
Becuase of Winn Dixie party homeiswheretheheartis8410.blogspot.com

We hung yellow and pink streamers. After we finished decorating and filled our plates with goodies, we watched the movie! The kids had a great time and it was fun to make the book come to life.
Becuase of Winn Dixie party homeiswheretheheartis8410.blogspot.com

The next week, I attended 5 curriculum meetings, finished report cards, cleaned out my classroom and officially locked the door on the school year! Oh, but I will be spending plenty of time working on curriculum this summer. I got approved to teach Language Arts in a different way, which I'm really excited about but it does mean some extra work for me in the next couple months.

Even though I have many things I want to accomplish this summer, I decided not to do monthly goals for the summer. Instead, I've created a weekly breakdown of tasks by category to help me stay focused and productive yet also enjoy some relaxing and fun. I find that I tend to look at a long to-do list and either pick just the "fun" things or end up doing none because "hey, it's summer and laying outside reading a book all day sounds perfect!". So I scheduled time for the fun things but also made certain days focused on tasks such as cleaning, organizing, and curriculum. I spent some time searching on Pinterest for a printable but wasn't finding something that fit me really well. No problem. I'm pretty good with Word and so 5 minutes later I had my own printable, which I'm sharing with you today!

Free Printable Daily Summer Plan homeiswheretheheartis8410.blogspot.com

While I'm not a graphic designer and didn't make it all cute with different fonts, colors, and images, I did try to be creative with the names for each day! There are many littler tasks in each category that will get accomplished (or not haha) each week but I wanted a place to write down the bigger goals for the summer. We'll see how it goes!

Here is the PDF FREE PRINTABLE of my Summer Daily Plan
And if you aren't a teacher, or want the days in a different order or want to rename them and just my blank template, here's the Editable Summer Daily Plan

For my weekly page that I fill in with specific tasks for each day, I use this fun and cute free fillable PDF from Erin Rippey at InkTreePress.com Be sure to check her website out--she has some super cute stuff!

One of my summer goals (as you may have seen under Wednesday's column) is to do some good ol' blogging! So be sure to come back periodically for some fun tutorials and DIY projects I've been doing around my home.

How do you stay productive during the summer?

Monday, September 30, 2013

Classroom Before and After

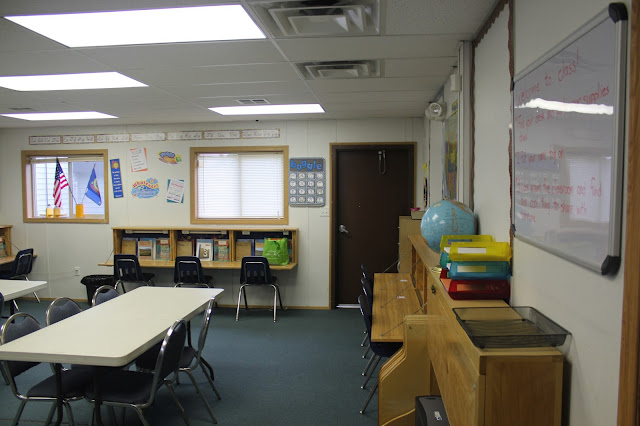
I had a lot of fun setting my classroom up! Last year, I was hired a few days before school started and shared a classroom with the afternoon teacher so I never really got to set up a classroom or make it my own much. This year it was overwhelming knowing where to start because I had SO many Pinterest ideas filling my head along with some space constraints in my new room.  Here are some pictures to show you what I walked into and had to work with.

Standing in the doorway looking left. The file cabinet and cupboard are gonna move.

Sweeping to the right

Looking straight ahead towards the back door

Standing in the corner looking back

Facing the front door and front of the room. Notice the empty bookshelf on the right. 
That small cabinet is moving too.

So those wooden boxes on the wall are actually the student desks. They are built onto the wall and fold down to create a desk surface and about 6 inches depth of storage space. Cool idea but definitely something I had to really get creative to make work for me since I couldn't move any of them and they use up almost all of the wall space.

Starting to bring all my stuff in and unpack.

Moved the file cabinet and cupboard and shifted the bookshelves down so the projector cart could fit.

Small cabinet moved to the empty wasted space by the back door.

It has to get messy before it can get organized.

Fun things first! After getting the bulletin borders and cursive ABC's up, we covered cans (just empty cans from canned food) with fun paper to match the colors of the borders. Then we filled them with all brand new school supplies! Mmmmm

My hubby helped me color all the letters of the alphabet for my Boggle board. I wanted to give the letters some color and had it match the borders. After one set of the alphabet, he took it to his fancy copier at work and made 3 more sets. I laminated them at school and am all set for Boggle all year!

Emptying old files, organizing throwing away, re-organizing by color.

Assembling my pocket chart stand!

Ta-da!

This is going to come in SO handy with little wall space.

All finished! Looking towards the back door.

The whiteboard always has the Entry Task and Journal Prompt for the day. That door leads to the 2nd grade classroom. The closed wooden cabinet has 2 computers in it.

This cabinet has all the extra supplies very neatly organized in it. As students break or wear out pencils they put them in the pink bucket and the Pencil Sharpener person sharpens all of them at the end of the day.

Close-up of the crayon wreath. My mom made it for me last year.

Classroom rules and reminders.

Using the pencil vase my mom made for me last year to hold our flags. You can see how the desks work now. During the week they rotate all their books like you would on a bookshelf and keep personal supplies on the other side. On Thursdays, we have to turn the book again and shut the desks so a Sunday School class can use our room.
p.s. the desks are no where NEAR that neat anymore.

I used border strips to break the wall into different sections. Each section is for posters, charts, pictures, and class work for different subjects. For the first week of school, I had 6 questions up that the kids answered with sticky notes. The questions were color-coded to match the different sticky notes I had and the kids had to write their answer on a sticky note that the matched the color of the question. I like things to match, okay?

Those pom-poms were from the wedding I got to decorate for this summer. They were just going to be thrown away and so I grabbed a few to add some fun by my desk.

Loving my supply cart! My mom got it for me from Ikea. I keep everything we need (in the cute cans) on a daily or weekly basis here and since it rolls around I can move it out based on our needs.

I used 3M double-stick strip to stick a corkboard strip to the top of my whiteboard. I then used pushpins to hold my pocket chart up. I created my own schedule cards based on the size of my pockets. I have since added a second pocket chart below hanging from suction cup hooks since our schedule would not all fit in just one after the first week of school.
I used the little chalkboard frames for the kids to hold for first-day-of-school pictures.

Closer view of my corner. The jobs are on those two cork boards. I just rotate the names under the jobs each week. You can kind of tell but the bookshelf is now full. Our school joined with another last year and they had hundreds of books up for grabs so I filled two plastic totes FULL. YAY. I'm working on a library app on my iPhone that allows me to check the books out to kids and then back in when they return.

I returned the 27pocket organizer because it held papers and folders vertically and was actually to narrow for folders. I got a second 10 pocket organizer and the two of them together works great! Folders and papers fit horizontally. Each student has their own "mailbox" I call it. 3rd graders are green and on the left, and 4th graders are blue and on the right. I keep my copies for the week in the pockets above. I can't imagine NOT having this.
It's a tight fit and some days we feel more cramped for space than others. But it works! I'm really proud of the ways I figured out to use my space best and get creative with storing things taking up as least amount of space as possible. I love my classroom. I've also received several compliments from parents saying they love the colors and how fun it looks. YAY :)

First Day of School!

My 21st first-day-of-school picture.
2nd as a teacher.