Showing posts with label Silhouette. Show all posts

Thursday, July 3, 2014

Make Your Own Vinyl Chalkboard Labels for Pantry Jars

I love the chalkboard trend! I used chalkboards as part of my wedding decor two years ago and now I use it in a few different places in my home. One of the ways I use chalkboards is labels on my pantry jars. 

DIY Chalkboard Labels homeiswheretheheartis8410.blogspot.com

I made these labels myself using my Silhouette and chalkboard vinyl. It was my first vinyl project and I was pretty nervous to do it. That's the reason I procrastinated on doing it for so long. But finally, one night I buckled down, watched some video tutorials and decided to go for it.  

DIY Chalkboard Labels homeiswheretheheartis8410.blogspot.com

It was so easy! I kicked myself for not doing it earlier. Ah well, at least it's done now. For anyone else who's not yet ventured to make their first vinyl project yet, I decided to give a step-by-step picture tutorial to help you have the confidence to see how easy it really is and do it yourself.


DIY Chalkboard Labels homeiswheretheheartis8410.blogspot.com

My jars are the Korken glass jars from Ikea. I love the look of the big metal clasps and that they have seals. I bought some in all three sizes. They are such a good deal! The small jars are $2.49, medium jars are $3.49 and the larges ones are $4.49! For my own pantry, I purchased 4 small, 4 medium, and 7 large. 

DIY Chalkboard Labels homeiswheretheheartis8410.blogspot.com

My vinyl and transfer paper is from Expressions Vinyl. When I got my Silhouette for Christmas, my mom also gave me a bunch of different colored vinyl. I need to make something else now that I've conquered my how do I do this? vinyl fear.


DIY Chalkboard Labels homeiswheretheheartis8410.blogspot.com

Depending on the width of your vinyl, you may need to adjust the rollers on your Silhouette (the white plastic cylinders around the silver bar in the front) The sticker on the inside of the lid gives directions for how to move them. Also, you want to make sure you select "Load Media" instead of "Load Cutting Mat' which is the default. (and then when you are done with this project and make another one, make sure it's switched back to "Load Cutting Mat" so you don't cut into the edge of your mat and then only get half of your design on the paper--ya learned that the hard way, sigh)


DIY Chalkboard Labels homeiswheretheheartis8410.blogspot.com

I searched in the Silhouette Online Store for a label design I liked. I chose this Artisan Label Set of three different labels. Once I downloaded the design, I un-grouped so I could work with just the one I wanted. I tweaked the proportions to fit my jars better. Before I cut anything on vinyl, I used some scrap cardstock and cut the three sizes to see how they would fit on my jars. I did a little bit of adjusting, cut again with cardstock to double check and then saved my new design of the three labels sized perfectly for my jars.


DIY Chalkboard Labels homeiswheretheheartis8410.blogspot.com

If you are interested in re-sizing that particular label to fit on the Korken Jars, here are the dimensions I used:
Small-- 2.25"W x 1.286"H
Medium--3.5"W x 2"H
Large--4.125"W x 2.357"H

Even once I had used the cardstock first, I still wasn't ready to cut all of the vinyl labels at once. I cut just one of each size first. I actually went through the whole process with the small label before taking any pictures to make sure I could focus and get it right. I put them as close to the top edge and each other as I could to save vinyl. Here they are all cut out still on the vinyl backing paper.


DIY Chalkboard Labels homeiswheretheheartis8410.blogspot.com


I peeled the unused vinyl back just enough and stuck my ruler under it so I could have some room to work without it sticking and getting in the way. 


DIY Chalkboard Labels homeiswheretheheartis8410.blogspot.com


Cut some transfer paper that will completely cover the vinyl shape. Again, I didn't want to waste and go too big, but you need to cover past all the edges.


DIY Chalkboard Labels homeiswheretheheartis8410.blogspot.com


Then you peel the transfer paper away from its backing.

DIY Chalkboard Labels homeiswheretheheartis8410.blogspot.com


Stick it right on top of your vinyl shape. Since I put my two shapes so close together, I started inbetween to gain as much edge as I could without sticking to the second shape. Then I just slid my hand across to smooth it down on the entire label.

DIY Chalkboard Labels homeiswheretheheartis8410.blogspot.com

All covered! You can see through the transfer paper and make sure you've covered all edges.


DIY Chalkboard Labels homeiswheretheheartis8410.blogspot.com

Then use your scraper and go from the middle outwards in all directions to make sure the transfer paper gets a good adhesion to the vinyl at all edges.


DIY Chalkboard Labels homeiswheretheheartis8410.blogspot.com

Carefully peel back one corner of the transfer paper. Go slowly to make sure the vinyl is coming with it. If your vinyl is not coming up, push the transfer paper back down and do some more pressing, rubbing, and scraping.


DIY Chalkboard Labels homeiswheretheheartis8410.blogspot.com

Now your entire piece is on the transfer paper and ready to go.

DIY Chalkboard Labels homeiswheretheheartis8410.blogspot.com

Make sure your jar is clean and fully dried. I had washed and dried all mine way ahead of time. You will need your scraper again too.


DIY Chalkboard Labels homeiswheretheheartis8410.blogspot.com

If you want, you can measure and get all precise about where to put it on the jar. Honestly, I just eye-balled it. 


DIY Chalkboard Labels homeiswheretheheartis8410.blogspot.com

Because of the roundness of the jars, I thought it was easiest to stick the label down in the middle and then press out in all directions to stick the rest.

DIY Chalkboard Labels homeiswheretheheartis8410.blogspot.com

After pressing and rubbing it down with my fingers, I used the scraper to go over it again. This gets out any air bubbles and really gets the edges to stick.


DIY Chalkboard Labels homeiswheretheheartis8410.blogspot.com

Having clear glass jars was helpful, because I looked from the other side sometimes to check for air bubbles or making sure it was straight. I also used this to help make sure all the jars had the label in (mostly) the same place. Once the first jar was done, I would put another jar of the same size almost touching it while holding my label on the transfer paper in between the two jars. Then I looked through the back of the new jar to see if where I was holding the label lined up with the already-finished jar. I adjusted as needed and then touched the middle of the label to the new jar just enough so it stuck in the right place but then I spun it around and worked with my fingers to really stick it down well. 


DIY Chalkboard Labels homeiswheretheheartis8410.blogspot.com

After you've rubbed and scraped, then it's time to take the transfer paper off. This is pretty much the opposite of when you adhere the label to the transfer paper in the first place in that when you pull back the corner you don't want the vinyl to come with it this time. Choose one corner of the paper and gently peel back making sure the vinyl is sticking to the jar all along the way.


DIY Chalkboard Labels homeiswheretheheartis8410.blogspot.com

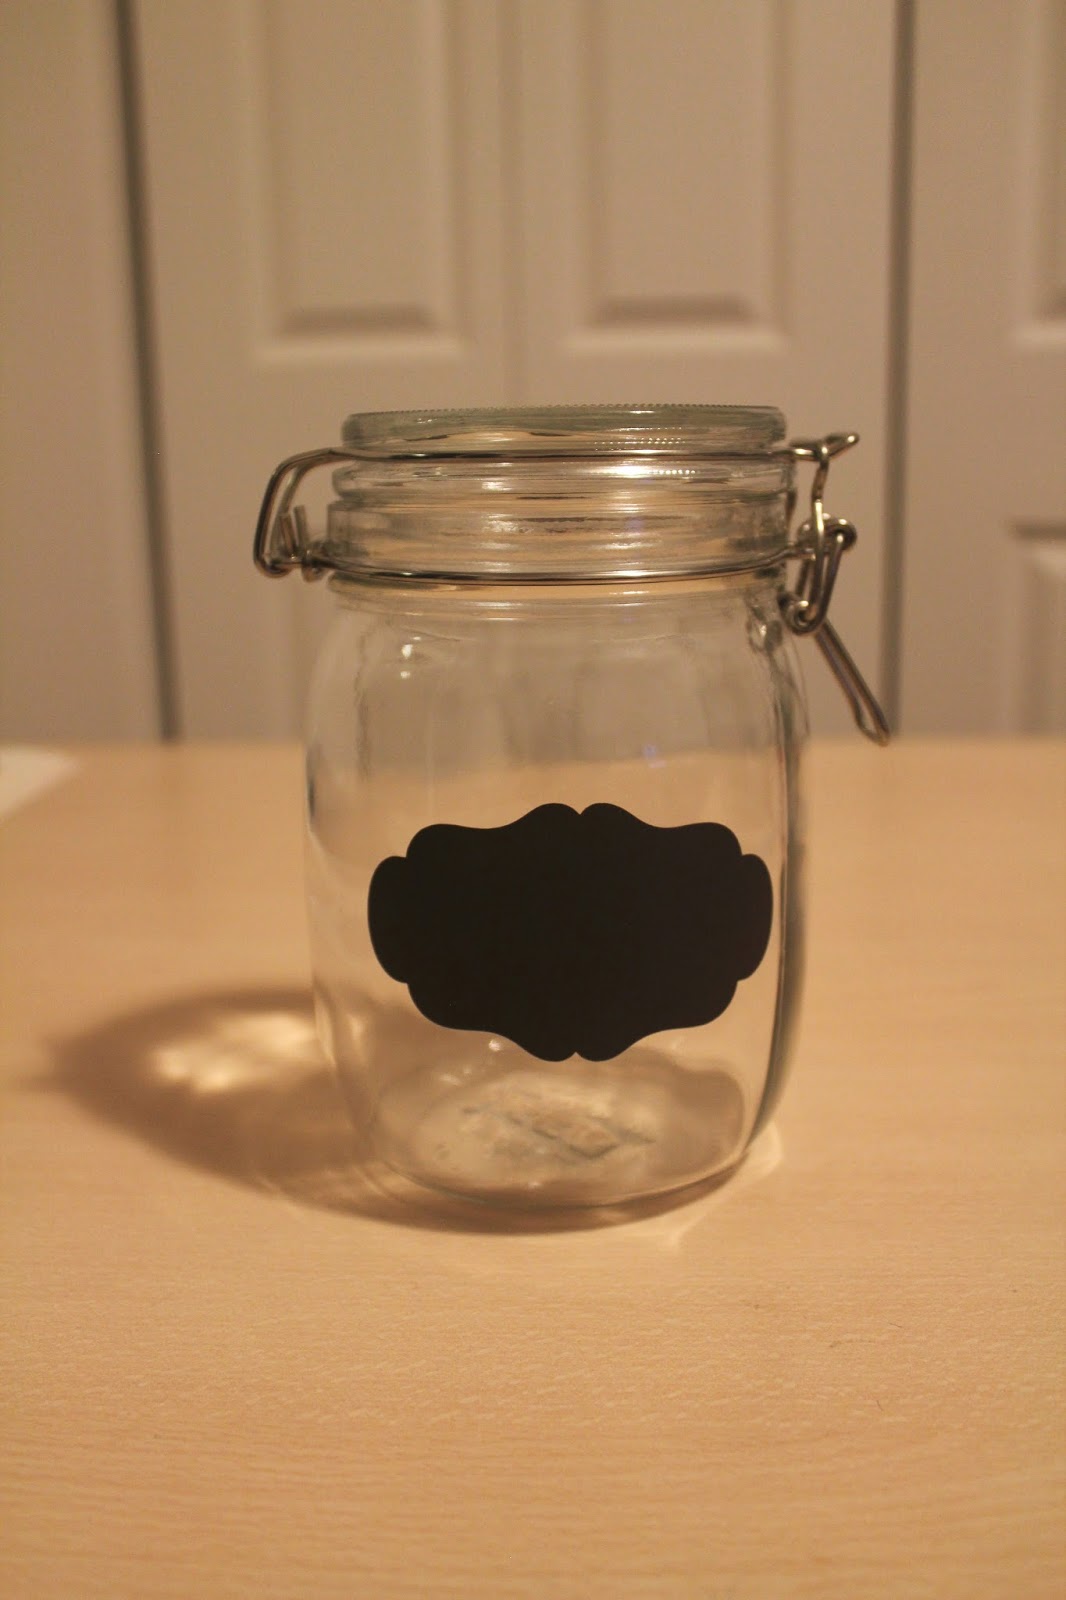
And there you have it! Wasn't that easy? And it looks so wonderful!


DIY Chalkboard Labels homeiswheretheheartis8410.blogspot.com

Remember to prime the chalkboard first by rubbing the side of a piece of chalk all over the chalkboard and then erasing. This step is important unless you want the first thing you ever draw/write to always remain there.

DIY Chalkboard Labels homeiswheretheheartis8410.blogspot.com

  Yes, I know I don't have very cute handwriting, but at least I now have chalkboard labels on my pantry jars!


DIY Chalkboard Labels homeiswheretheheartis8410.blogspot.com

My first three completed! The small jar was the hardest to do and some of my labels have air bubbles and creases that will not go away but I'm okay with it. It's only noticeable to me because I made them, well and I guess you now since I told you. You do have to take some extra time really finding the right spot with the little jars though because they have a very small area of flatness from top to bottom.

DIY Chalkboard Labels homeiswheretheheartis8410.blogspot.com

Three down, twelve jars to go. Once I got my system down, it went pretty quickly.


DIY Chalkboard Labels homeiswheretheheartis8410.blogspot.com

I played a little bit to arrange the last twelve labels in a way that saved the most vinyl.

DIY Chalkboard Labels homeiswheretheheartis8410.blogspot.com

After just a couple hours, all my jars were labeled and filled.


DIY Chalkboard Labels homeiswheretheheartis8410.blogspot.com

They're all put away in my baking cupboard and the prettiness just makes me so happy. 

DIY Chalkboard Labels homeiswheretheheartis8410.blogspot.com

So what do you think? Do you now feel confident and informed enough to make your own vinyl chalkboard labels? Or any vinyl project for that matter.


DIY Chalkboard Labels homeiswheretheheartis8410.blogspot.com

What vinyl project should I do next? I know the sky is the limit but I don't have a specific project in mind so I need some inspiration.


DIY Chalkboard Labels homeiswheretheheartis8410.blogspot.com

What was your first vinyl projects? Any other helpful tips for vinyl projects?

Wednesday, February 12, 2014

Seahawks Superbowl Party

Most of the bloggers out there plan way ahead and will give you recipes, crafts, decorations, and tips for an upcoming event. I give major kudos to those ladies. I, however, am not one of those bloggers. Not by a long shot. I am usually a week to a month late on posting about my holiday creations. Or hey...maybe I AM the ultimate planner and I'm getting you ready for next year. ;) No? Okay, well anyways, even if it doesn't help you prepare for your events, at least you can see what's been going on for me lately. And years from now, I can also look back and pat myself on the back for still doing the baking, crafting, decorating, party hosting, etc. even though I wasn't the ultimate blogger. :)

All that to say...here is what Superbowl Sunday looked like around here!

Starting with my paint chip dry erase calendar:

Thank you to Jacquelyn at Style Me Pretty for these free Superbowl Commercial Bingo printables.

Our guests had a really fun time with this game. Everyone got into it and we would debate about if something counted or not. Unfortunately we didn't think the commercials were that great this year and none of us got a black out but it still made for a friendly competition when we weren't focused on the game.

Here's the table decor. The megaphone and pom-poms were from the Dollar Store a couple years ago for the March Madness championship game and the tablecloth was less than a dollar at WalMart.

I made the footballs using my Silhouette and the ribbon I use as a belt/sash for one of my dresses. I love finding things around my home to use rather than buying or making new things all the time.

In case the crayons and colors on the table didn't give it away, we were cheering for the Seahawks!

I used my Silhouette sketch pens to draw the outlines of the letters and then cut the pennants and footballs with it as well. I used Sharpies to color in the letters. The twine and clothespins were already up from Christmas decor--this is where I displayed Christmas cards we received.

I had to get put away all my Christmas decorations so instead of having a bare dresser, I pulled anything blue and green that I had. (You can also see part of the awesome gift my hubby got for Christmas there on the left...he loves that bean bag and was so surprised!)


I didn't have any football printables or time to get one printed so I grabbed a chalkboard and drew something instead. I knew to use X's and O's and that yardage lines but hubby had to help me with the play.


So maybe candles, vases, and fake flowers have NOTHING to do with a Superbowl, but hey, they were the right colors!

Moving to the food and decorations there. And don't forgot the Skittles!


I used the negative space from my footballs and attached them to mason jars with a zig pen. I got the idea for the jars from Bev at Flamingo Toes. Yes, I know the stitches are white but I already had these brown ones that were just going to be thrown away so I decided to just go for it. (I am realizing I need to figure out a trick for taking pictures of glass jars...these didn't turn out so great. Also, can you see me in the spoons?)

When I saw this Seahawks silhouette design on Pinterest, I knew right away I would be using it! Thanks so much to Lisa at Sweet Benana & Sam for creating and sharing this free Seahawks SVG file! When I grabbed this design, I decided to create my own printable. I added the words and used my Silhouette sketch pens to draw it.

A couple weeks before the big game, during a quick trip to the grocery store for a couple items, I saw the plates and napkins and threw them in my basket. At that point, we hadn't even confirmed we were having a party but somehow Seahawks plates and napkins was all I needed as motivation. :)

Blue and Green Sweets!


I decorated two different kinds of cupcakes. Thanks to the class I took at JoAnn's I had a lot of fun practicing my frosting skills making these.

Sprinkles for the 12th man!

And a Skittle atop the swirl

Seattle Seahawks Cupcakes

And for the sweet 'n salty taste, I made three different kinds of pretzel rods: chocolate with heath, white chocolate with M&M's and sprinkles, and chocolate with a white chocolate football stitch decoration. I just couldn't resist using my blue mason jars from Target as the finishing touch.

In addition to the desserts, I made BBQ pulled pork for sliders and we had potato salad and veggies. My husband also made his own recently-created guacamole recipe which is delicious! Our friends brought several other yummy dishes. As is necessary for any Superbowl Party, we had lots (so many leftovers) of food, cheering, and fun! It made it so much better when our team won dominated the game!

So maybe you can use some of these ideas next year for any Seahawks game! :)